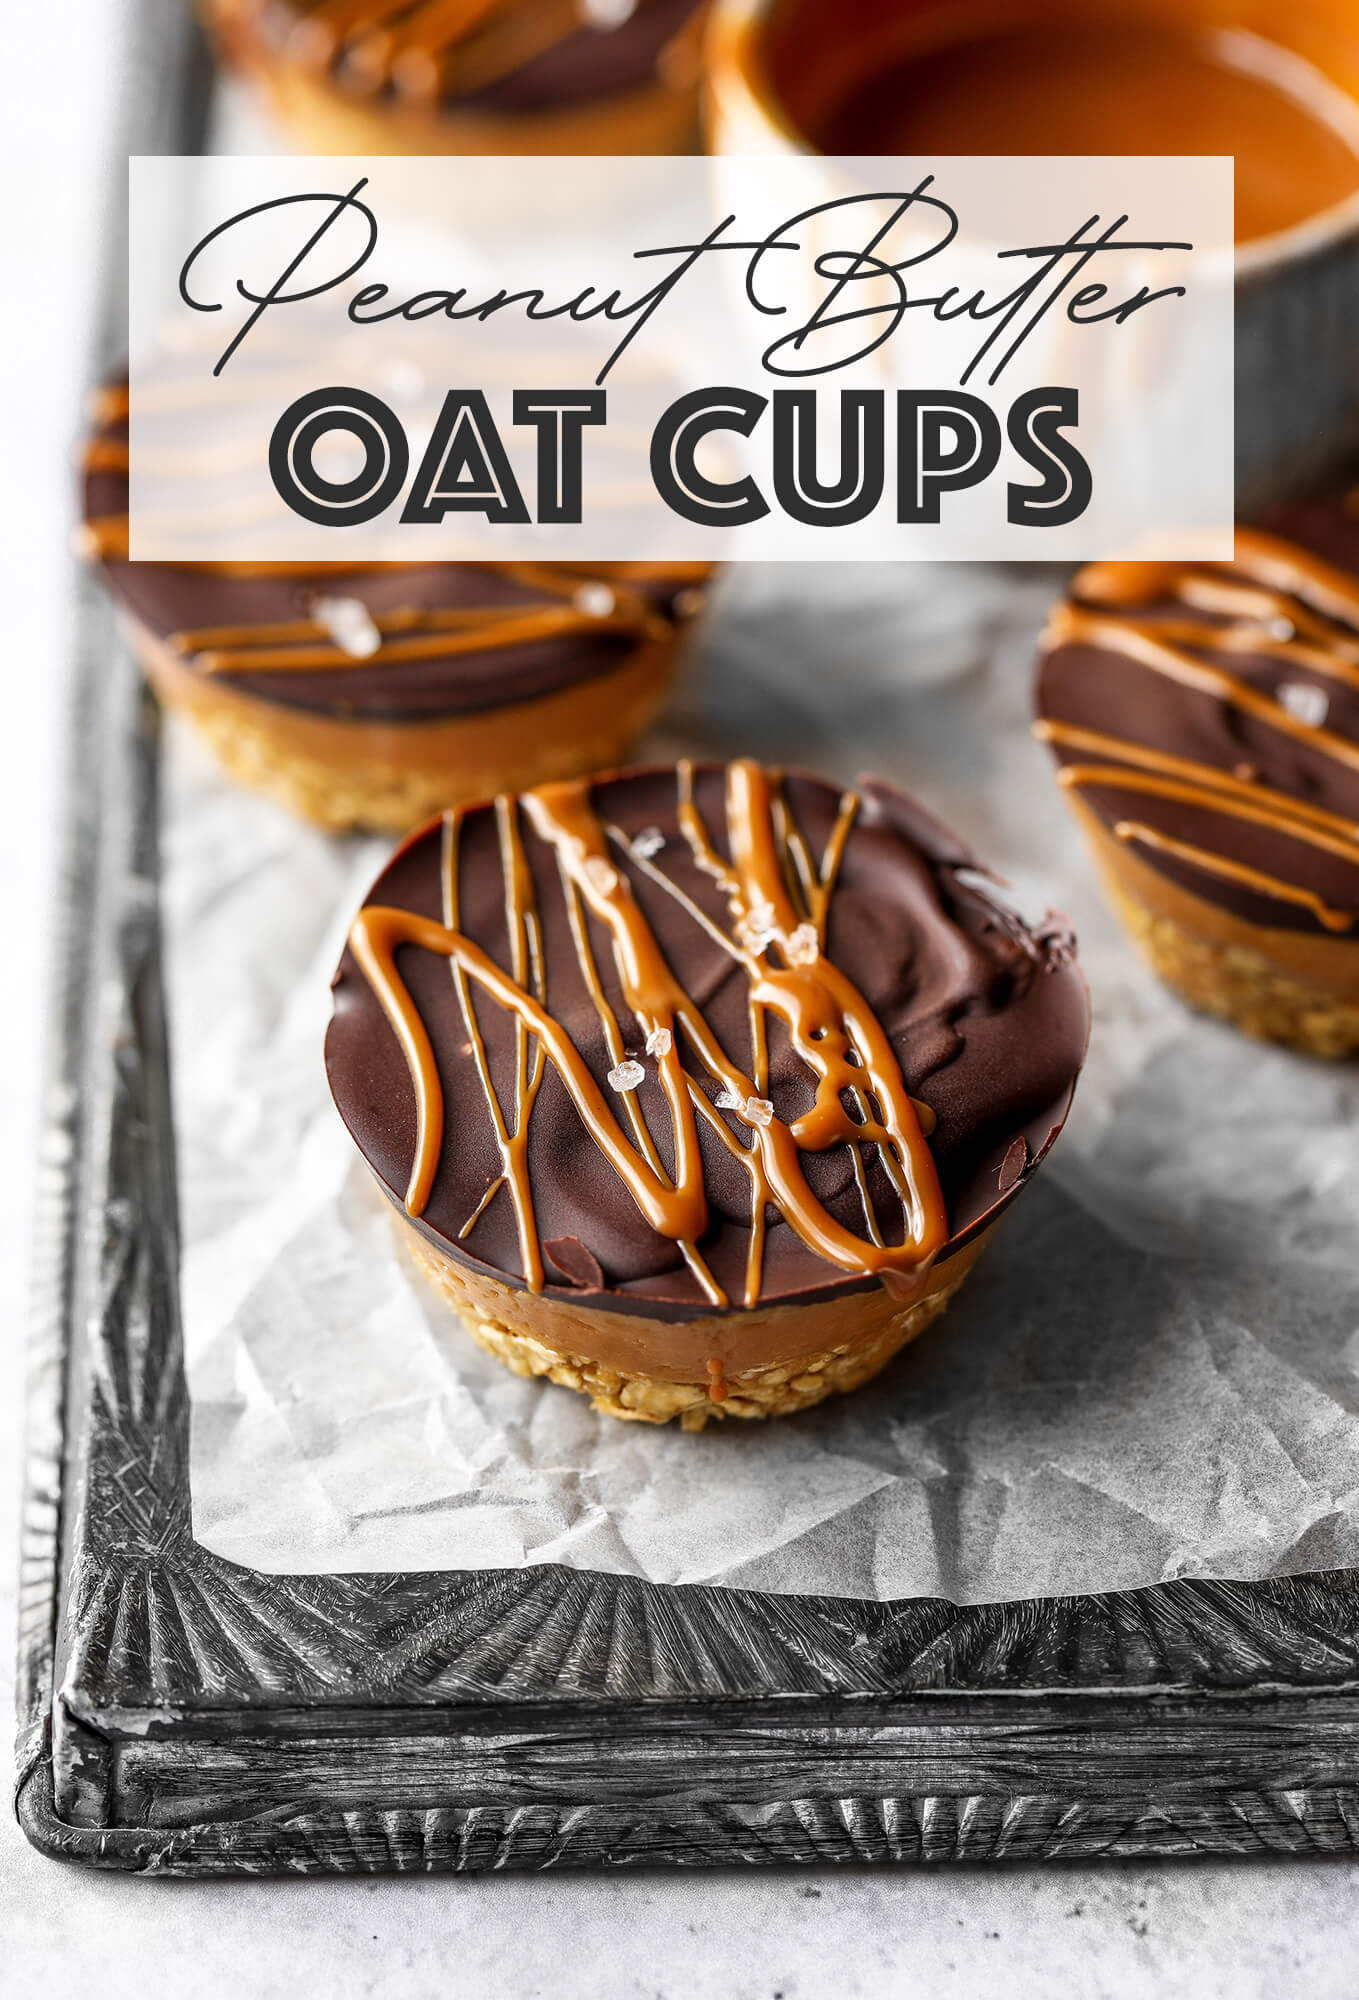
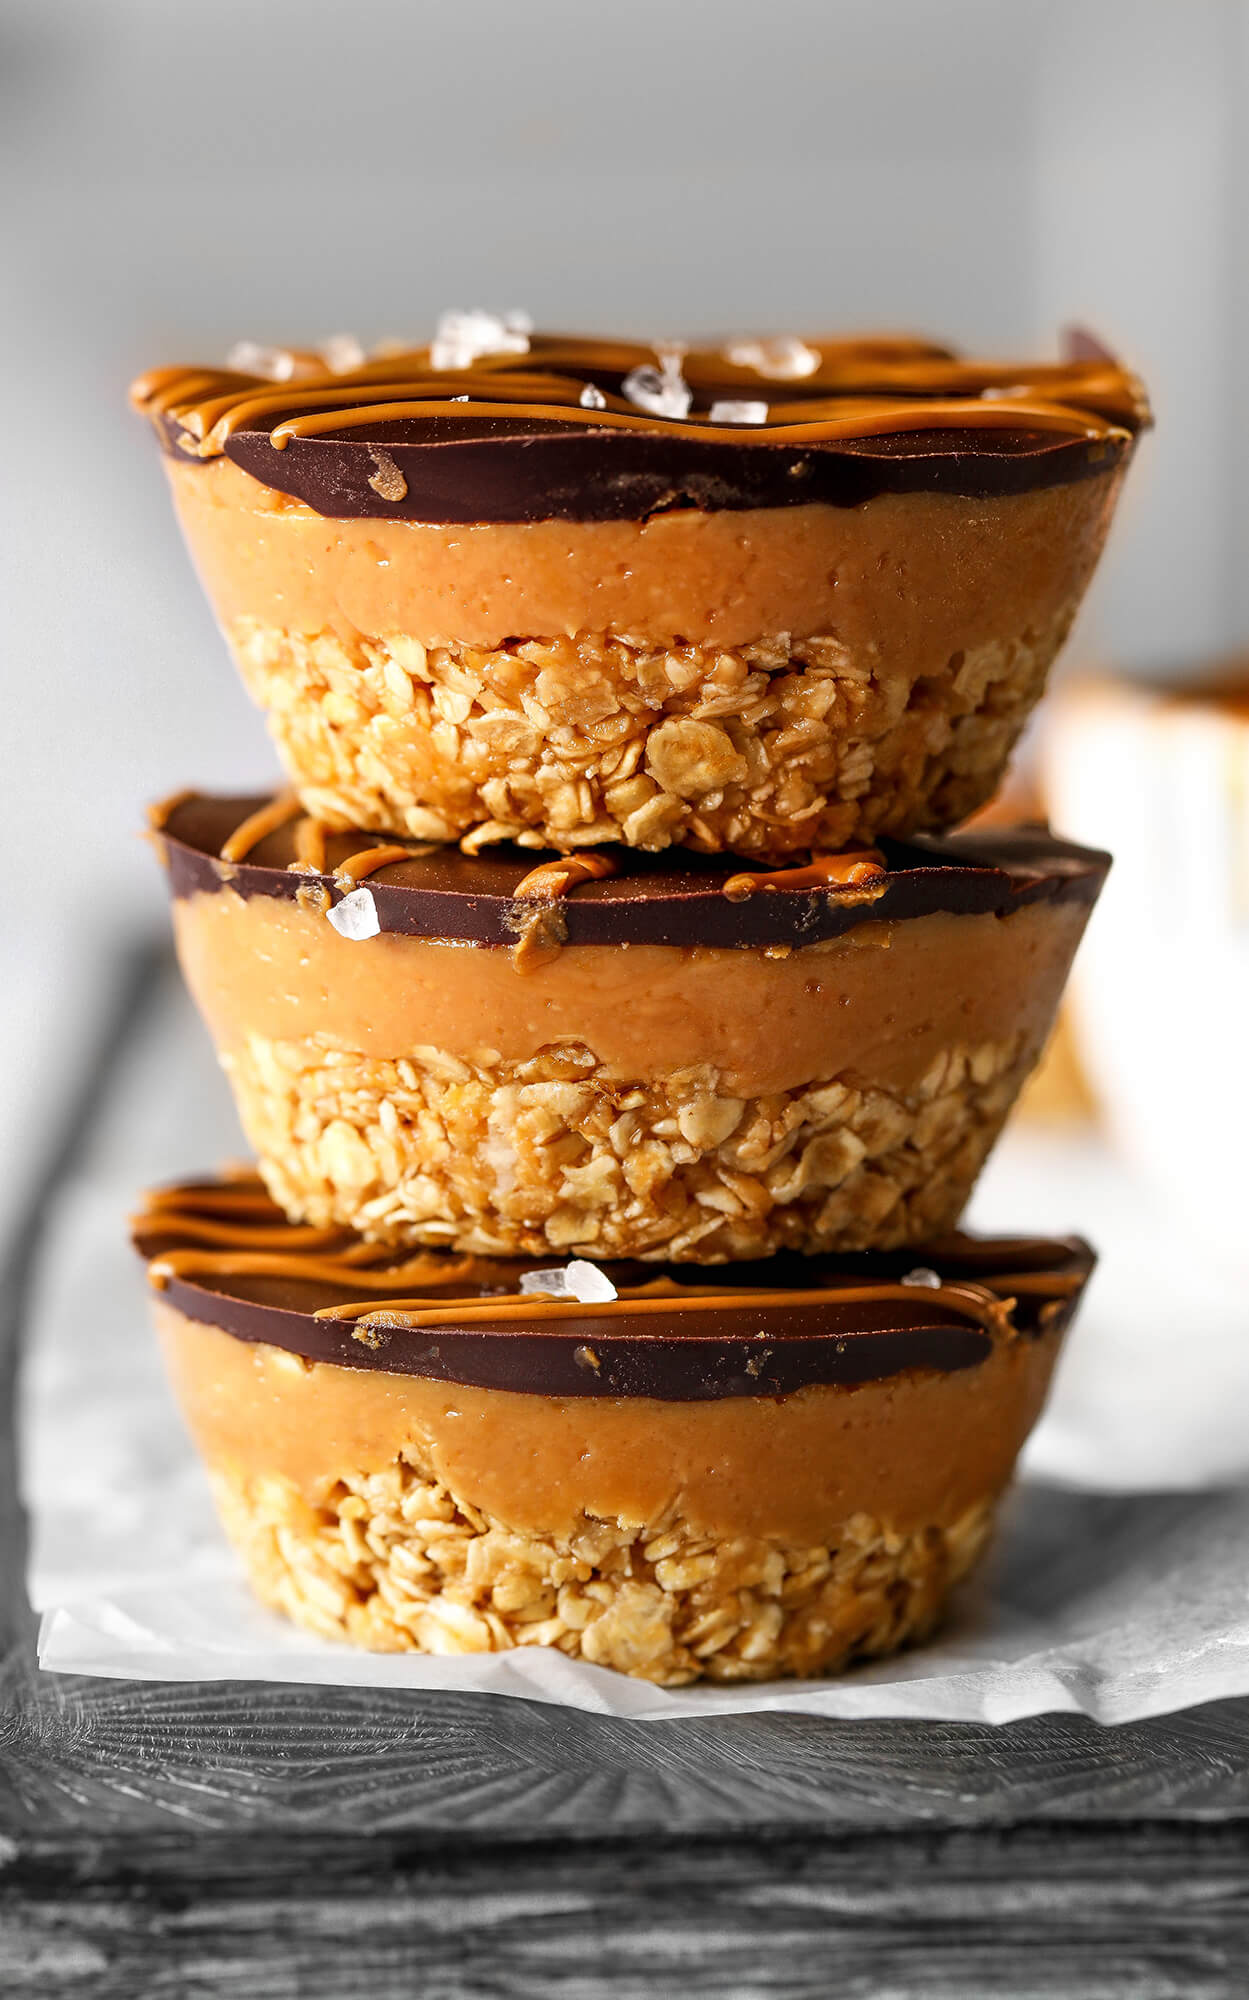
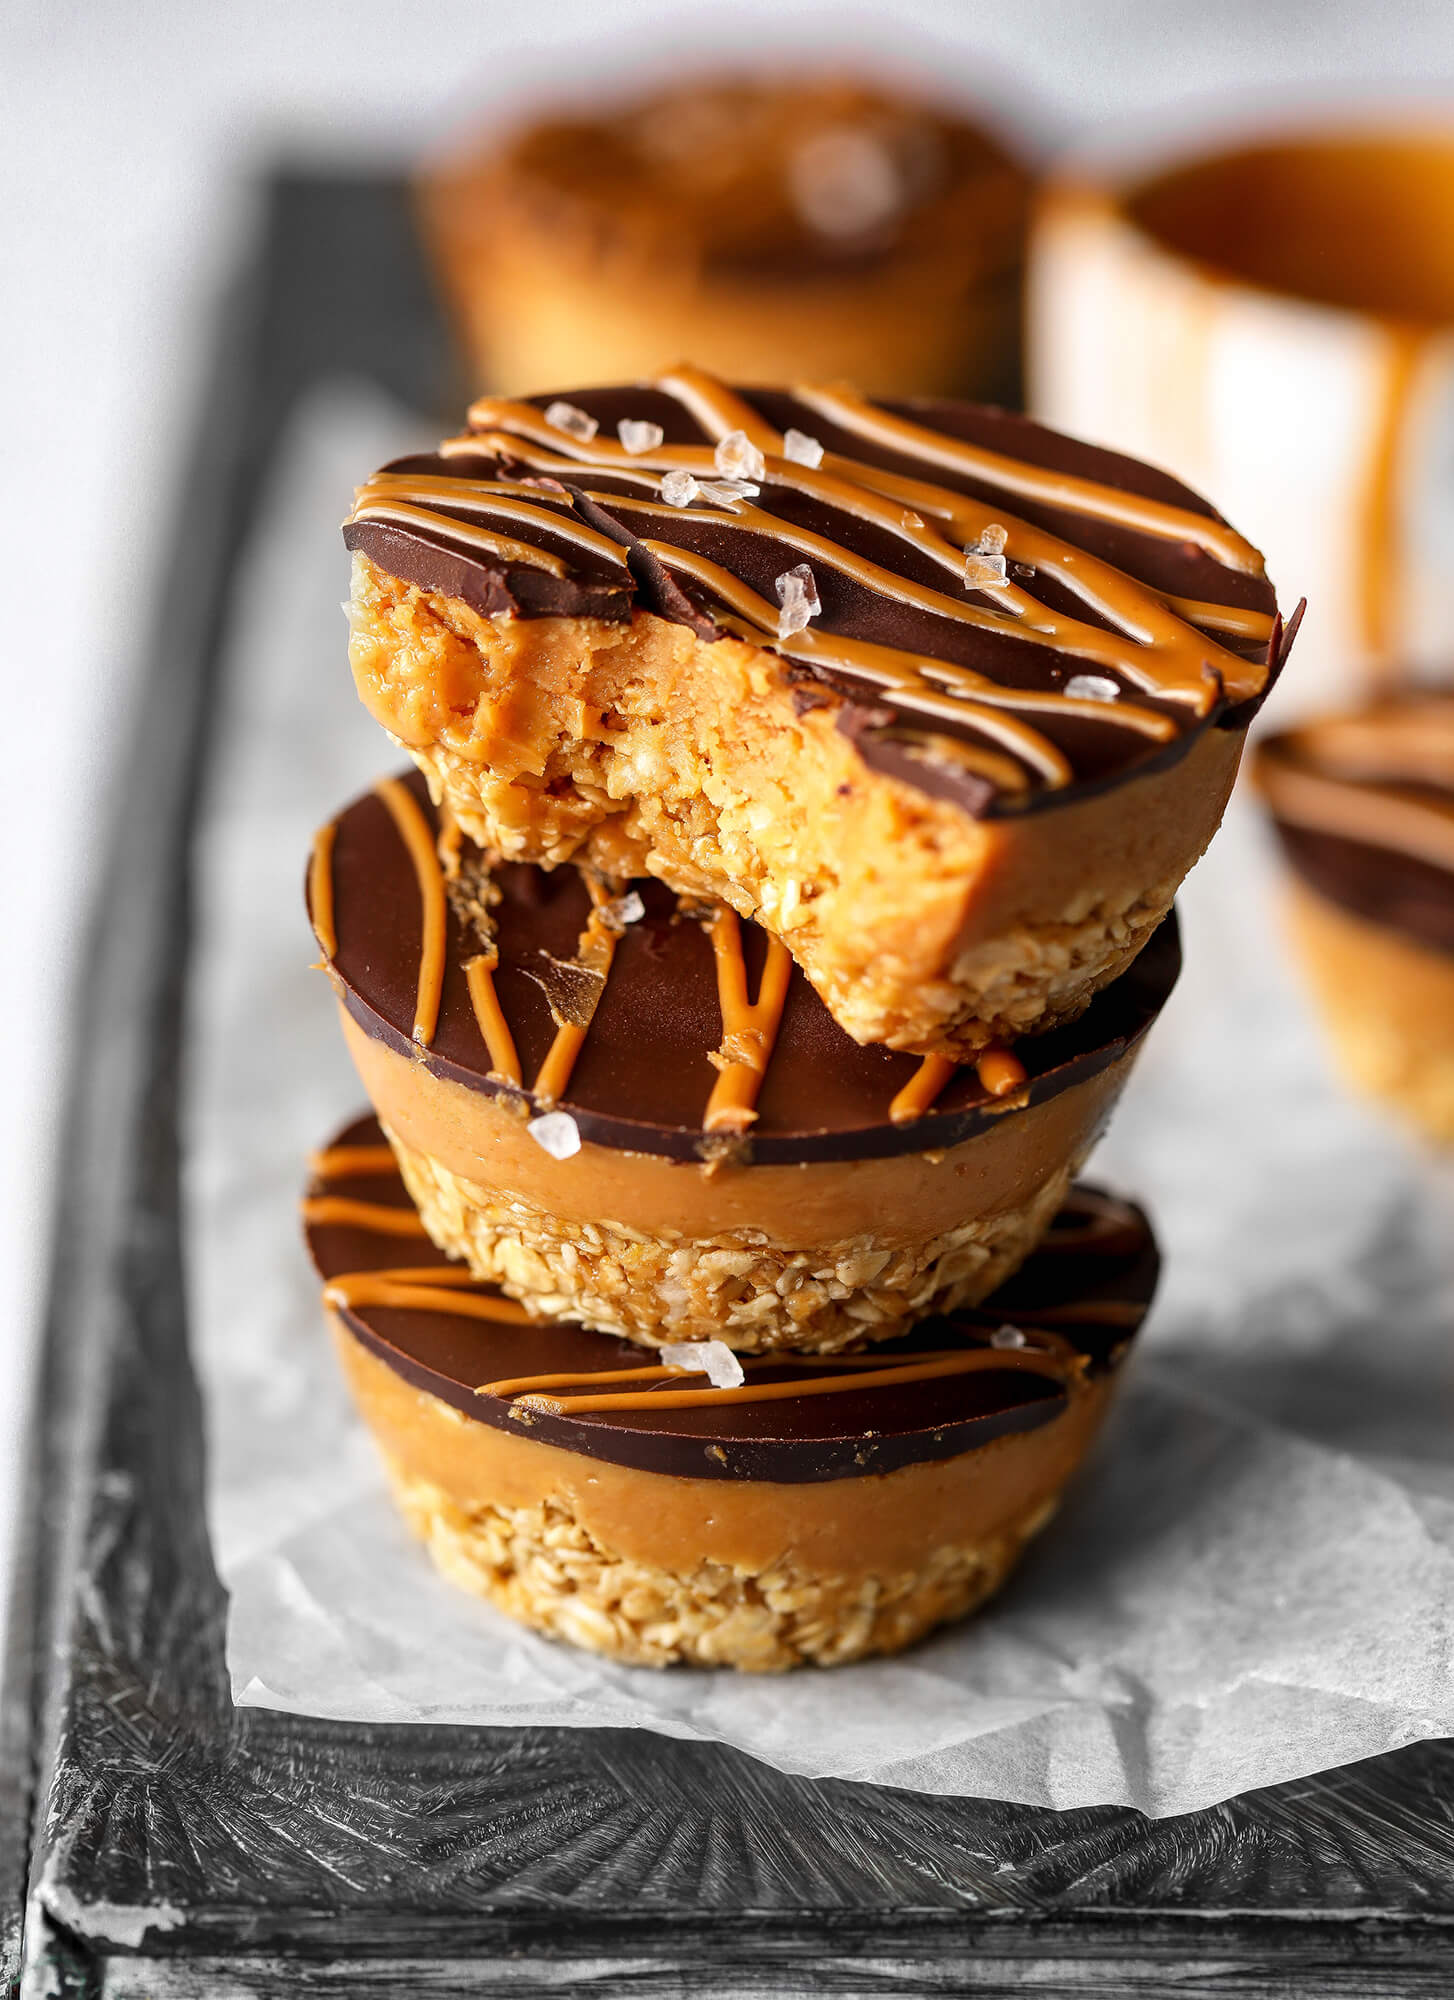
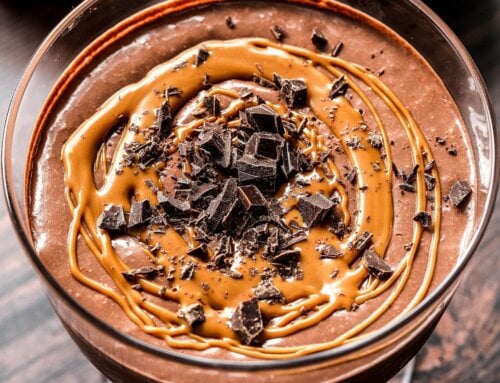
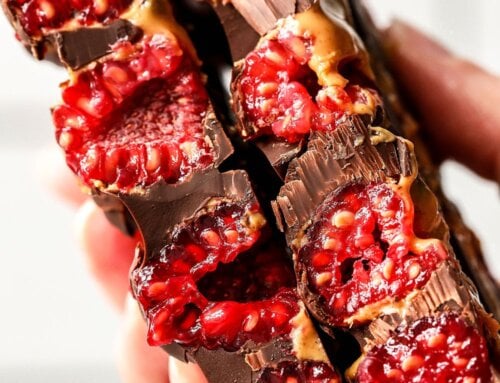
Delicious oaty cups with a layer of peanut butter all topped with smooth chocolate – these Peanut Butter Chocolate Oat Cups are super delicious and packed with goodness.
Even though we’ve had many hot days here in the UK, that shouldn’t stop us from the joy of making our own treats. The way around it is to make desserts that don’t require you turning on the oven. The last thing you want on a hot stuffy day is to add to the unbearable heat by turning on the oven unnecessarily.
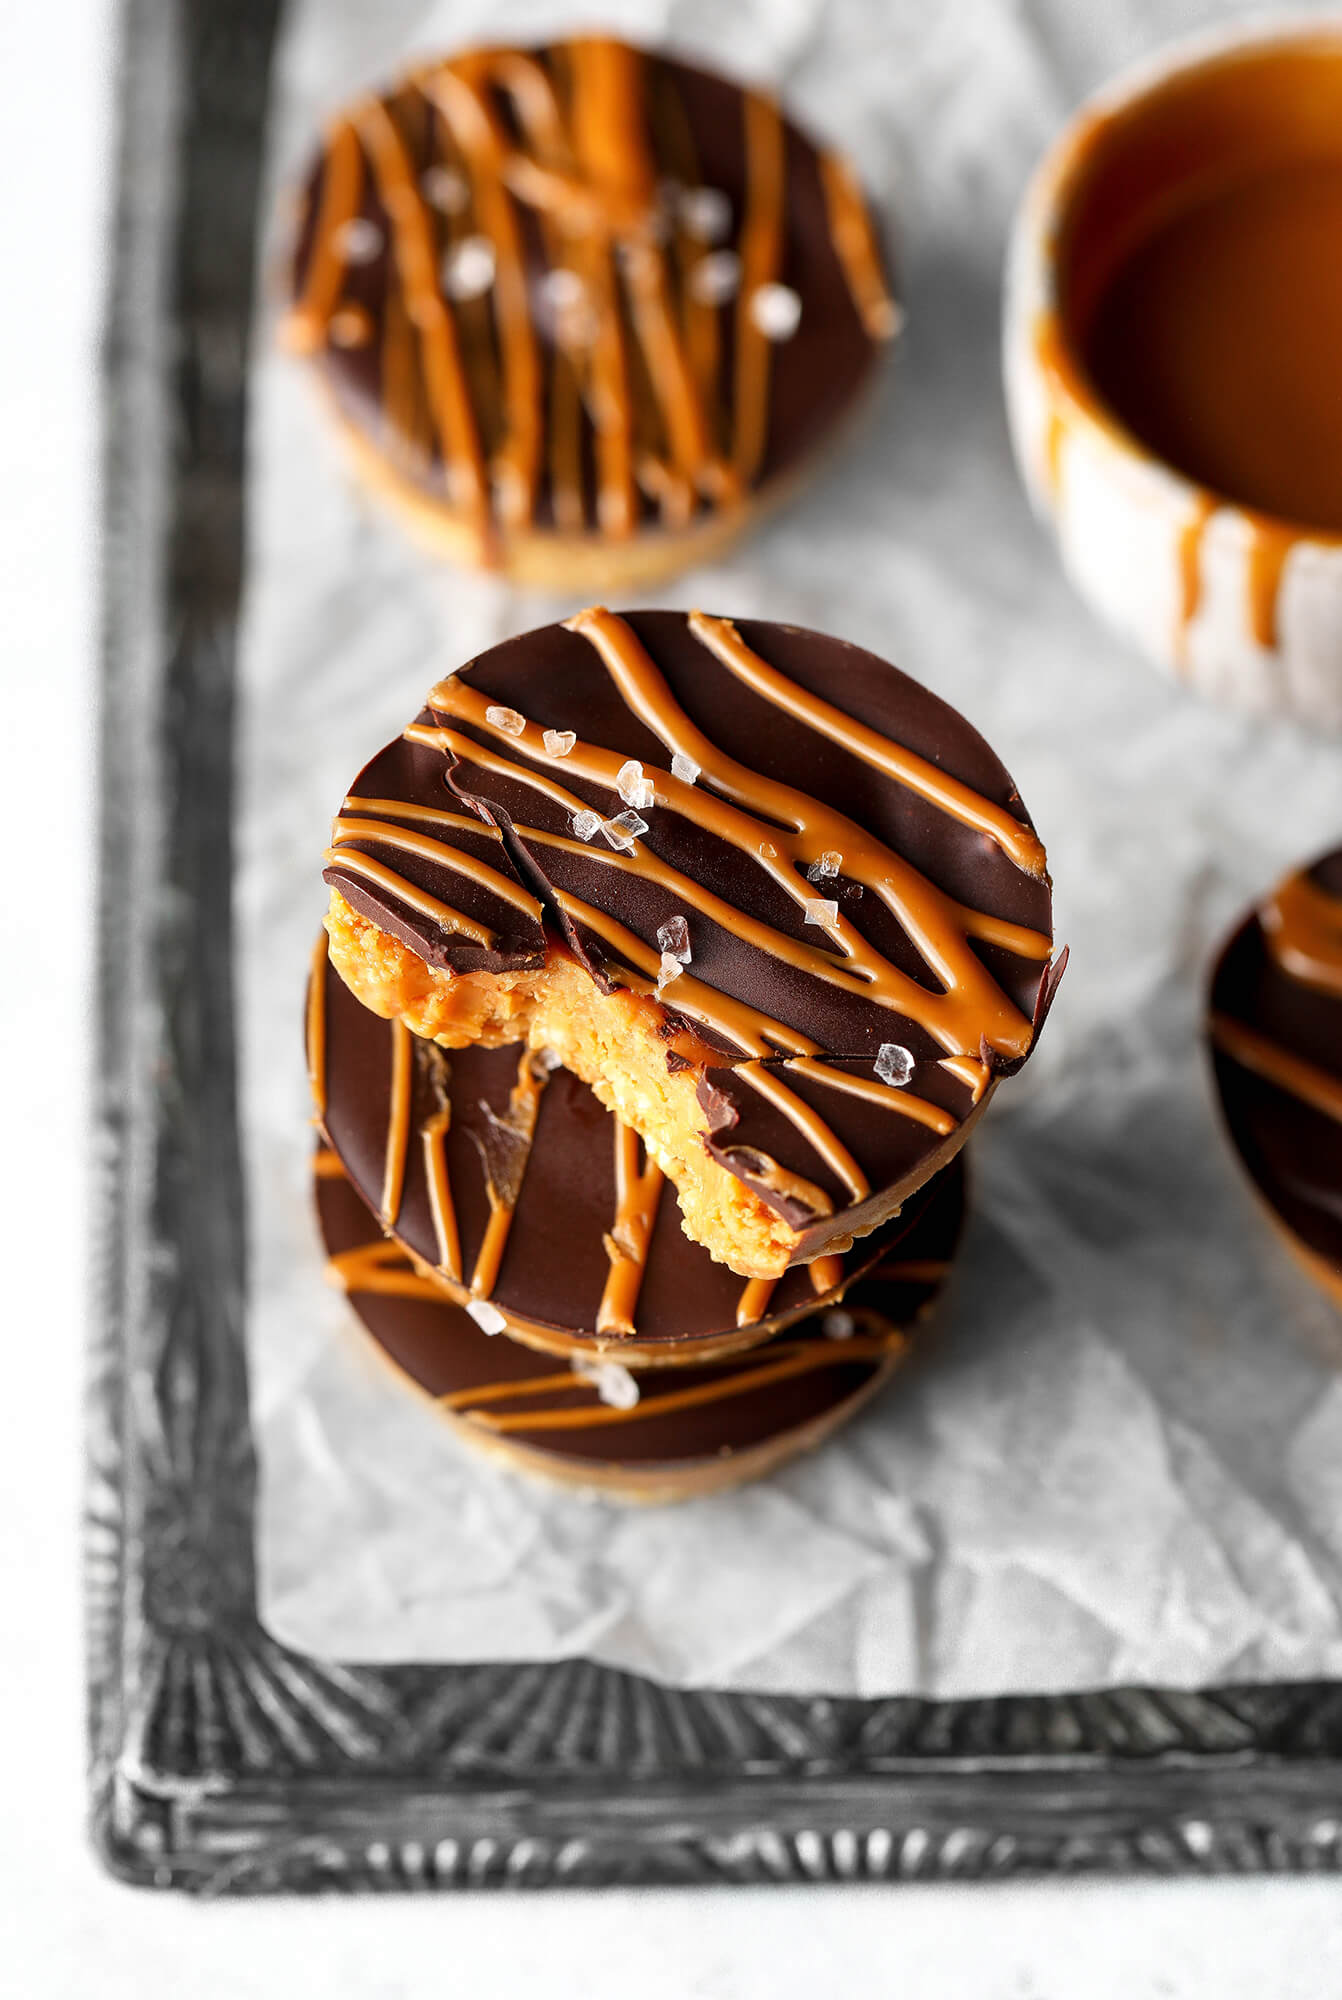
Treats like these peanut butter chocolate oat cups are perfect for such warm and clammy days. They’re no-bake and they’re served cold straight from the fridge. The no baking part also means they’re a lot faster to make and less fuss. Did I mention they taste freaking amazing? 😀
As well as being really easy to make, these cups are healthier than your average treat as they’re made with oats, peanut butter and dark chocolate with a little bit of maple syrup to sweeten.
A must try if you like peanut butter, chocolate and/or caramel!
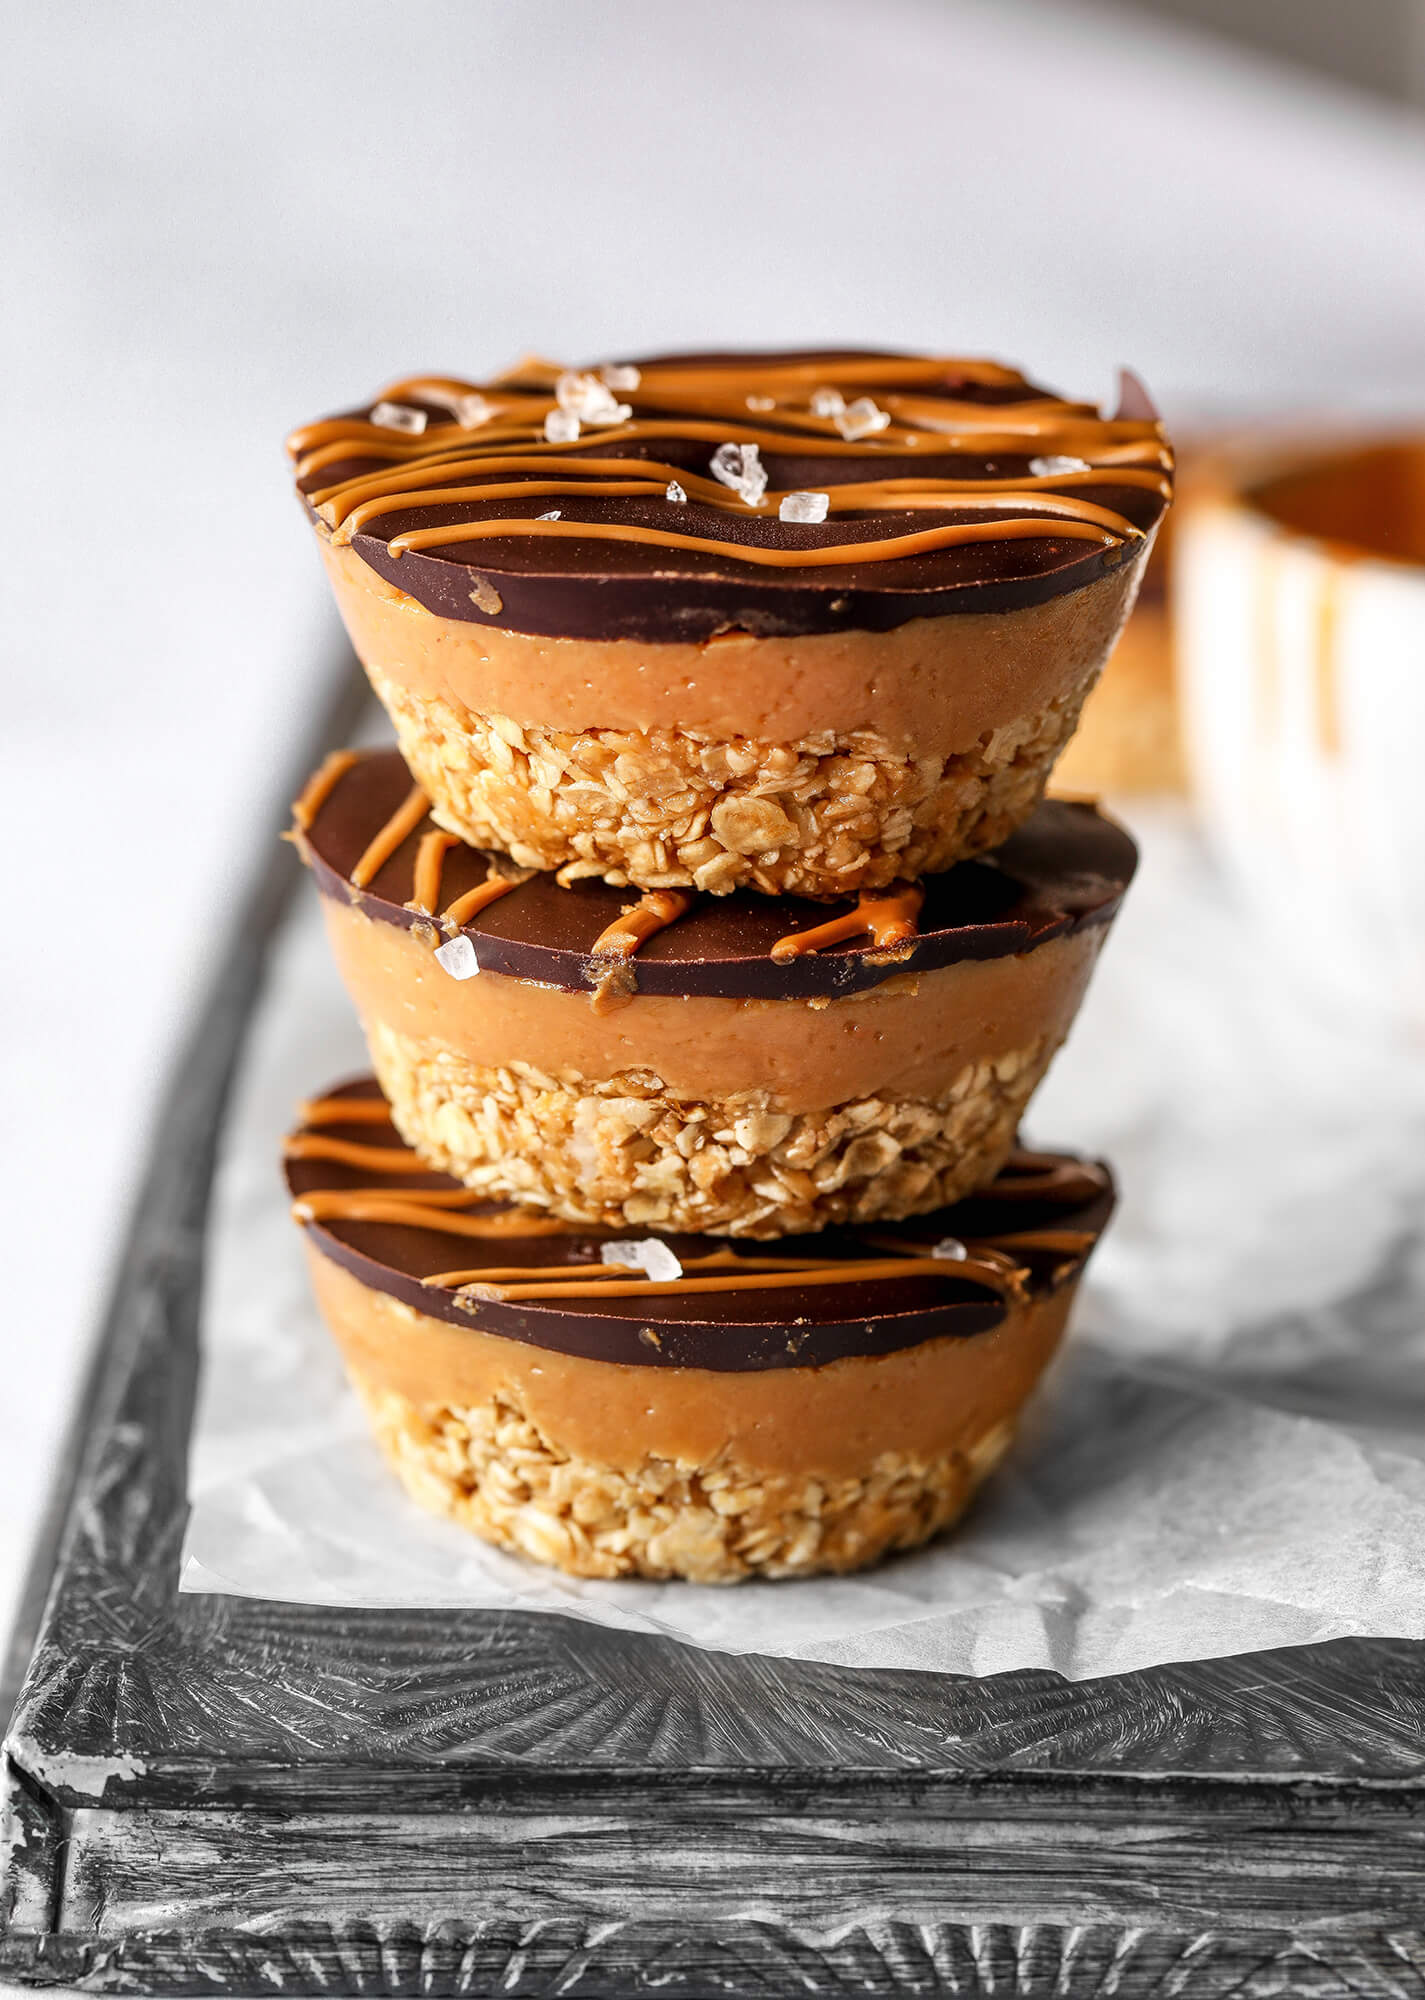
What you’ll need to make these peanut butter chocolate oat cups:
You really only need 5 ingredients, which are:
- Rolled oats – rolled, Scottish or jumbo oats. Not instant oats! If you’ve tried my recipes before, you’ll already know how much I love oats and how often they feature in my recipes. They’re a great source of fibre/beta-glucan, which helps lower cholesterol and plays a significant protective role against insulin resistance.
- Smooth peanut butter – you can use any nut butter here or seed butter like tahini. Peanut butter is probably the easiest to get hold of and is cheaper than other nut butters.
- Maple syrup – this is purely to sweeten. This recipe is meant to be a sweet treat after all.
- Salt – a sprinkle of salt helps enhance all the flavours
- Dark chocolate – again, you can use any kind you like, but I prefer the complex taste of dark chocolate. I also think it better complements the sweetness of the maple syrup.
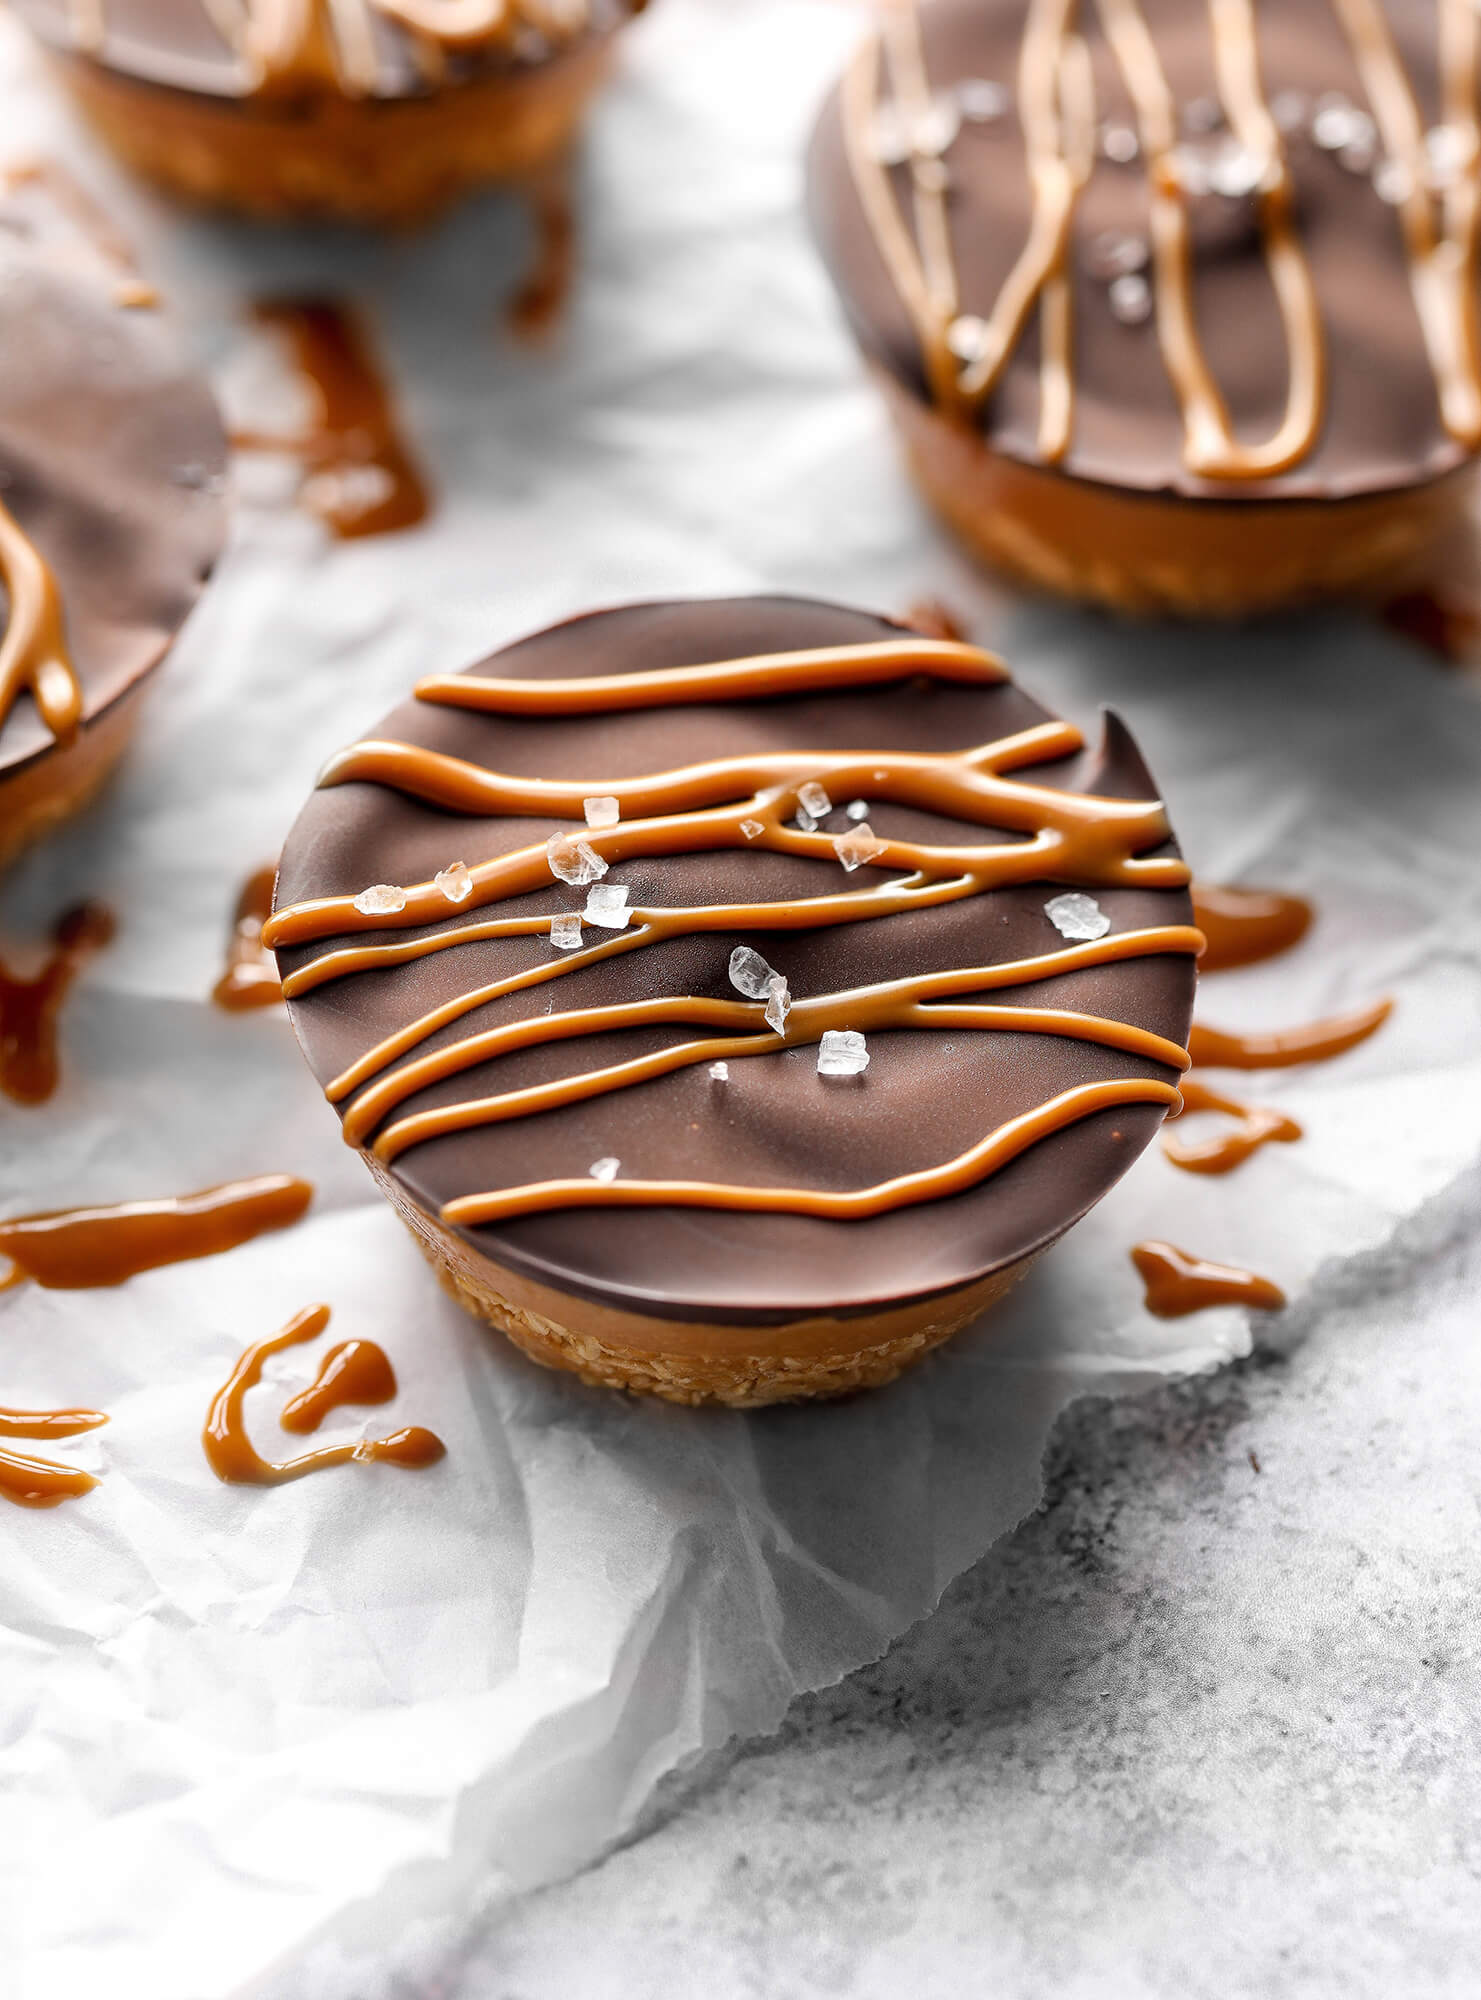
Why you need to try these Peanut Butter Chocolate Oat Cups:
- They’re no-bake
- Easy to make
- Only call for 5 easy to find and accessible ingredients
- They’re vegan
- Can be made gluten-free
- And can also be made nut-free by substituting the peanut butter with a seed butter/tahini
Peanut Butter Chocolate Oat Cups
Ingredients
For the base
- 70g rolled oats used gluten-free if necessary
- 2 tbsp smooth peanut butter or nut butter of choice
- 2 tbsp maple syrup
- Pinch of salt
For the peanut butter layer
- 100g smooth peanut butter
- 1 tbsp maple syrup
For the chocolate topping
- 70 g dark chocolate melted
- Optional drizzle of melted Biscoff spread
Instructions
- Mix all the base ingredients in a bowl, then press into a 6 cup silicon muffin tray. Freeze for 15 minutes.
- In the meantime mix the peanut butter and maple syrup in a small bowl to create the middle layer, then spread over the oat bases and top with the melted chocolate.
- Refrigerate until hardened. Enjoy!
Make this
Hi,
Quick question. For the oat base can I use something else instead of mayple syrup like honey.
Hi Sarah 🙂 Yes, honey or any other liquid sweetener will also work x
Hello Nadia,
Thank you for this delicious recipe!
I cooked them twice already and they are perfect after workout ?
Aw so glad you’re enjoying them Marie 😀 x
These look so tasty want to make them fir an 18th birthday oarty but not keen on using peanut butter due to fear there may be someone with a peanut allergy – can you use something like Biscoff instead.
Hi Patrice 🙂 yes Biscoff will also work or a seed butter like tahini/sunflower seed butter. Hope that helps! x
Hi I made these last week they’re so delicious, I want to make them again. My base was quite crumbly though any tips ?
Thanks x
Cannot WAIT to make these!! So pleased we’re “working”’from home at the moment 🙂
Let me know if you tried them Amy 😀
Hmmmm so lecker und schnell gemacht. Vielen lieben Dank.
Made them but crust was very crumbly. Advice on how to prevent that from happening again,? Want to make them for Easter Sunday. They taste amazing?
Can u you share something on Instagram?
I already share all my posts on Instagram 🙂
Ahh, these look so good! I can’t wait to make them.
Nadia,
Do you have the nutritional macro’s for these ?
I don’t at the moment, but you can use something like myfitnesspal to work it out 🙂
Look Devine thank you
Thank you Jane 🙂
Just WoW
Thank you ☺️ xx
Where you so for a long time were gone?
I’m still posting new recipes regularly 🙂
Made these last night in mini muffin tins and we really enjoyed them. Lightly sweet, not too much, and the hint of salt is the crowning touch…thanks for the inspiration!
So glad you enjoyed them Tina 🙂 Thank you for your feedback!
Why do you show Carmel toping on the chocolate but do not include that in the recipe?
Hi Ann 🙂 It’s just an optional drizzle of Biscoff spread, but it’s no essential.
Hi Nadia, does it pull out easily when you use other moulds that are not flexible like silicon? If no, any tips? I have a cupcake pan
Can these be frozen ?
Hi Angela 🙂 Yes they can. Make sure you store them in an air-tight container and allow them to thaw completely in the fridge before serving.
How well and how long do these last at Room temp?
They will be softer stored at room temperature compared to storing them in the fridge, but they will last up to 4 days 🙂
What type of oats? Quick, instant, steal cut?
Looking forward to trying these!
Hi Ang 🙂 Rolled or quick oats will both work. Let me know what you think once you’ve tried them!
Can you use honey instead of maple syrup?
Hi Marlene 🙂 Yes, honey will work just as well!
Hi! These look sooo delicious and I am ready to make them but can you please give us the nutritional breakdown? I am trying to track my input and that would make it so much simpler.
Many thanks!
Hi Gayle 🙂 I haven’t had the chance to work out the nutritional breakdown – sorry ? You can work it out using MyFitnessPal if you really need to know.
These are delicious and so easy!! My little ones loved em and have crowned them as the best dessert!
Aw your comment has made day Kelsey 😀 Thank you so much for your feedback. Glad your little ones enjoyed them 😀 xx
Don’t have a silicone tray. Can these be made with regular muffin trays? With the paper inserts?
Hi Amanda 🙂 Yes, regular muffin trays lined with baking paper will also work!
Can these be left out when traveling in a container? Or do they require refrigeration?
Within how many days do you recommend using?
Hi Nishi 🙂 They can be stored at room temperature, but they may be a little soft. They’re keep for 3-4 days in an air-tight container. Hope that helps! x
They’re absolutely amazing. Thank you!
So glad you enjoyed them 😀
These are amazing, look and taste great. I was wondering if you could freeze these?
I didn’t find the oats to be crunchy… and too much peanut butter for me so I put a bit of caramel filling in instead and then dark chocolate.
Hi Mel 🙂 The oats won’t be crunchy because it’s a no-bake recipe. You can use granola instead of plain oats for some added crunch. You can also use a milder nut butter like almond or cashew if you don’t like the taste of peanut butter x
If you are looking for a healthy crunch, you can replace some of the oats with store bought organic sprouted and dehydrated buckwheat. They are perfectly crunchy.
Great one! Do you think I could replace maple with golden syrup, and silicone molds with paper cups?
Hi Emma 🙂 yes and yes! Any liquid sweetener works and paper cups will work just as well 🙂
These look amazing.
Hope you try them 😀 x
These look easy and delicious. However I can’t see how they can be gluten free if you use the biscoff spread.
Thank you Susan 🙂 It’s an optional drizzle that I used more for Photography purposes. Originally I didn’t include it in the recipe, but then had so many questions asking what it was. If you’re gluten-free, simply omit 🙂
Fantastic recipe. Thanks so much for sharing because they are delicious.
I used Manilife 100% nut crunchy peanut butter and Godiva 90% cocoa dark chocolate. If you stir up the peanut butter in a bowl instead of adding it from the jar it mixes nicely and is soft enough to use instead of smooth peanut butter.
I didn’t add the extra maple syrup to the peanut butter mix. The mix of flavours was perfect.
Mine came out as about 260 calories per cup but they are so rich that one cup at a time is enough
So easy and delicious! The crust did start to crumble once these started to warm back up to room temperature. Will definitely make again.
Top tip. Blind bake the bases on a low heat for about 20 minutes and then let them cool down before you add the filling. Makes the bases biscuity and they are delicious
I’ve done this too.
Oh my goodness Nadia! These are phenomenal! I am addicted and love these so much, much like my favorite treat of rice cakes and peanut butter with nutella spread and sprinkle of coarse sea salt! These are just a perfect combination of flavor and a popable perfect travel size for outings especially road trips and a power bite after a walk, hike, etc! Thank you so much for sharing!
I’m so glad you like them Susan 😀 they are one of my favourite recipes! Thank you so much for taking the time to leave your feedback 🙂 xx
But your eating raw oats! I tried overnight oats once and had the worst belly ache! can I bake the base before filling and for how long?
Hi Rose 🙂 I haven’t had an issue with eating raw oats, but just like with every food, some people can eat it, others can’t. The base may turn a little dry if you bake them, but you can dry toast the oats in a hot pan for a few minutes to soften them first. Let me know how you get on 🙂
How long do these keep?
I now make these whenever I’m craving something sweet! I almost always have the ingredients on hand, and they’re so fun to make and eat.
I love this recipe, thank you. My family and friends are now big fans. It’s a great recipe in both sizes. I’m finding my son is becoming a critic to them, if the chocolate isn’t the right consistency for him 😀
Thank you again