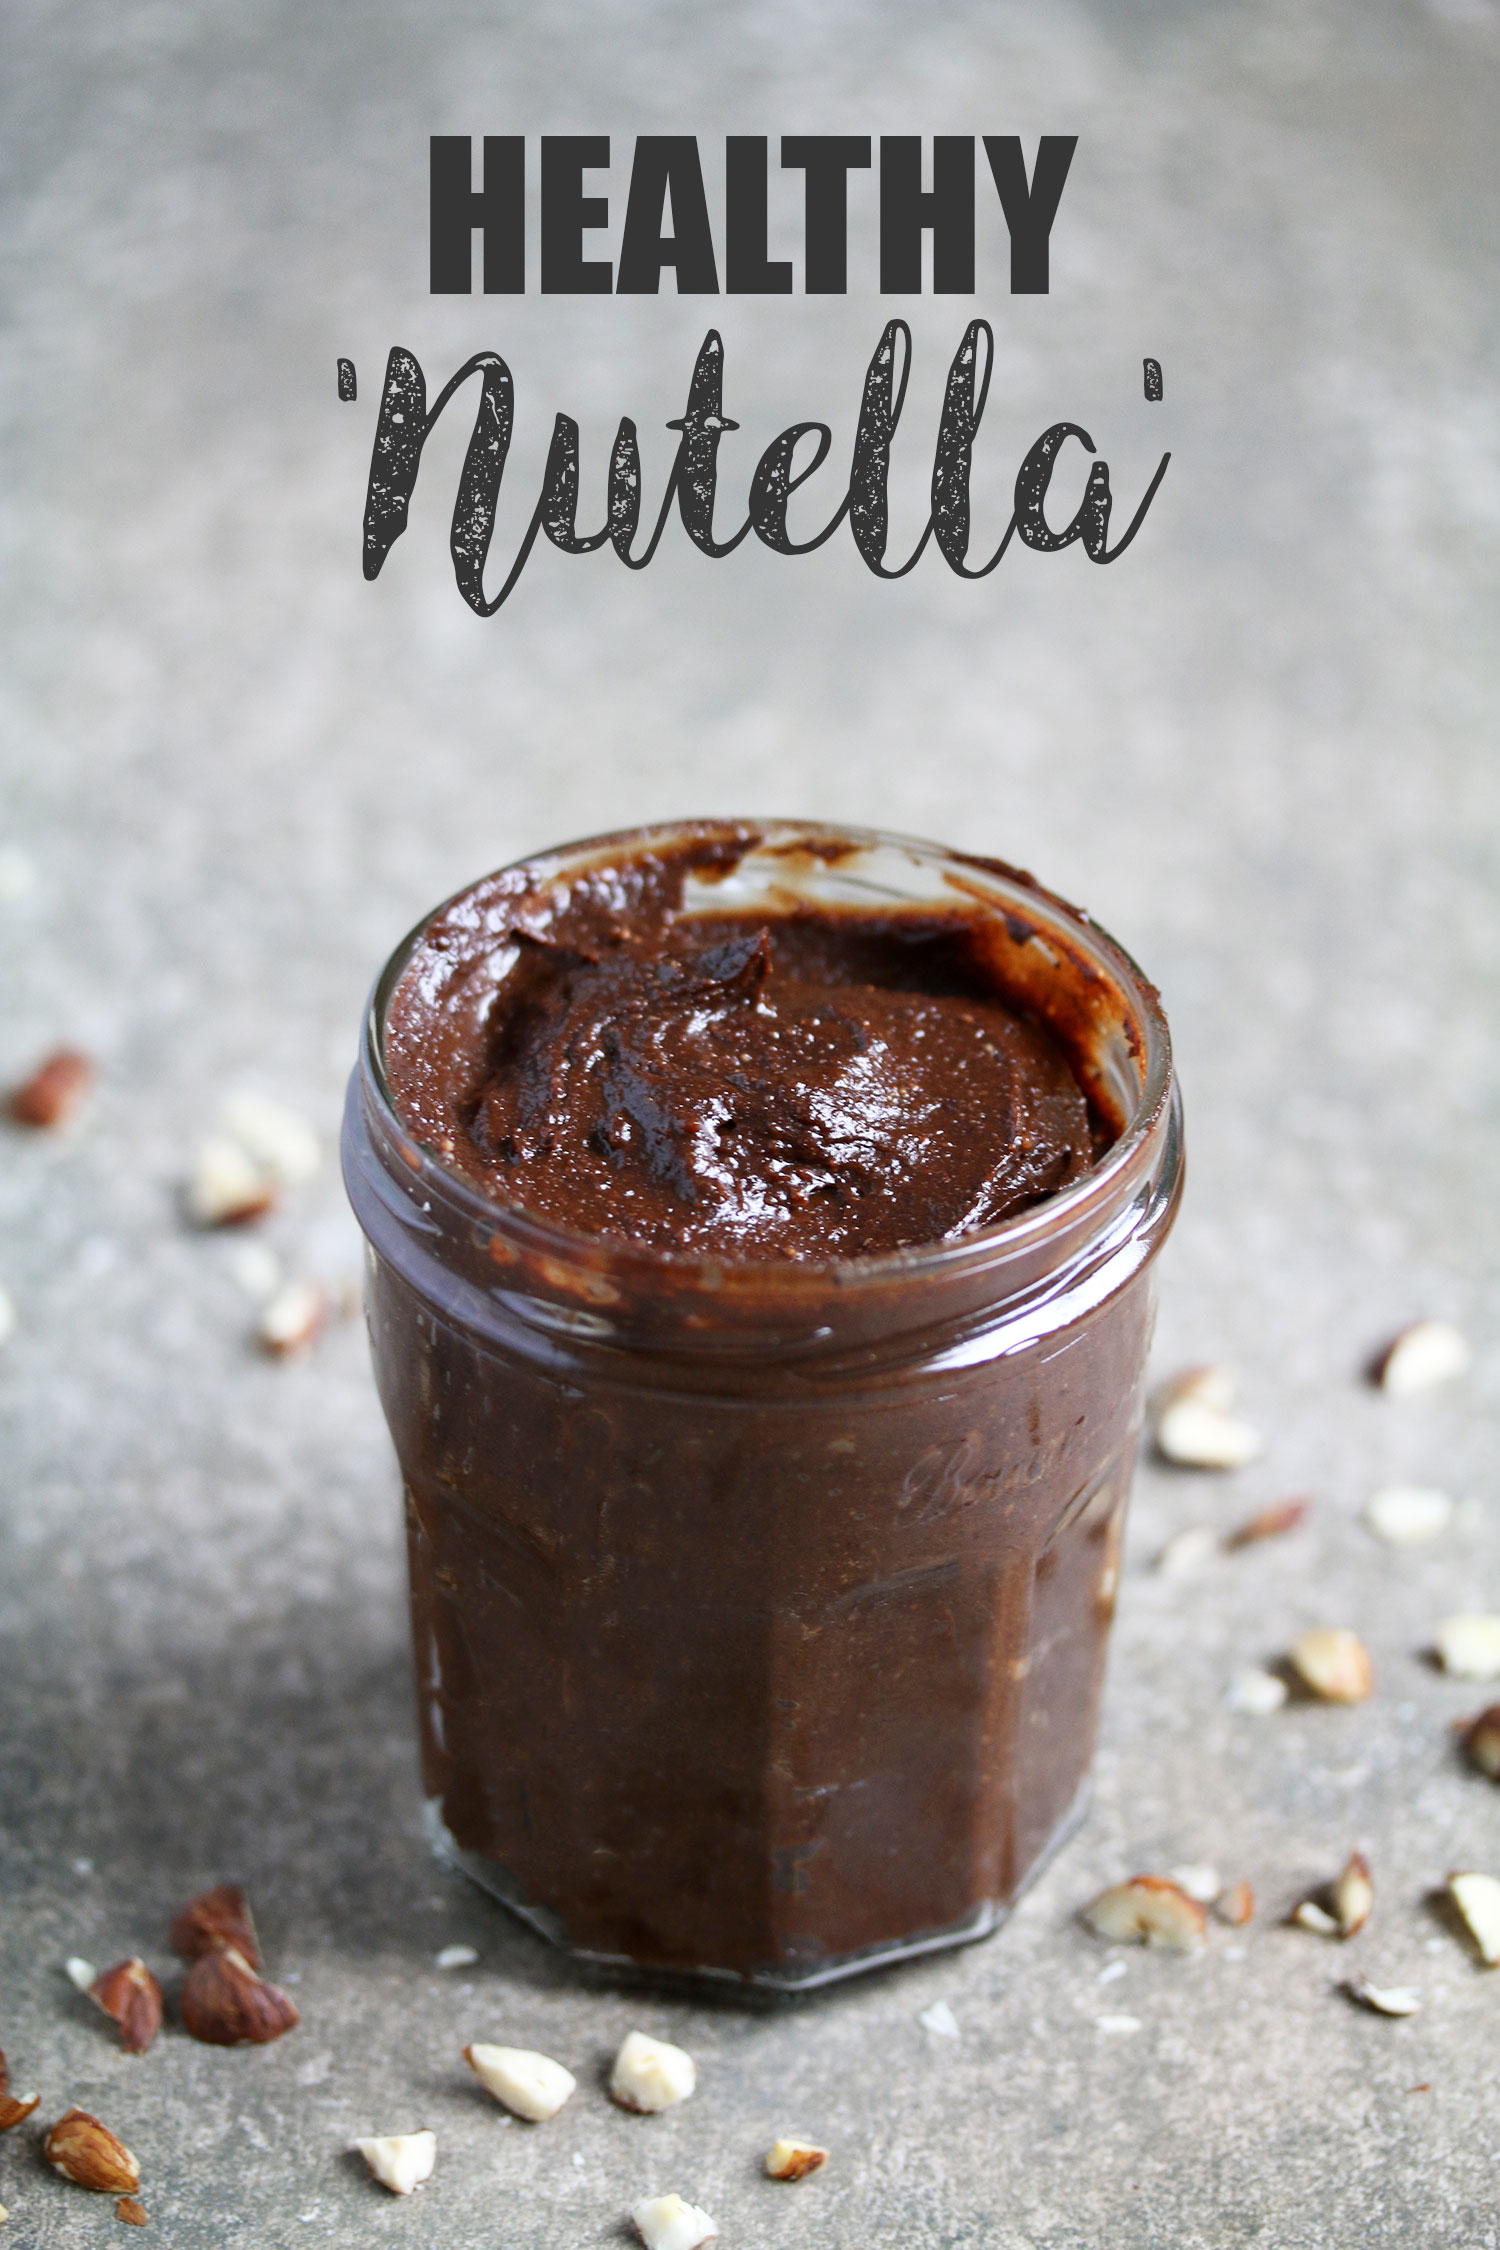
Healthified Homemade Nutella
Who doesn’t love Nutella? Every household seems to have a jar or two stored away in their cupboard.
When you think of Nutella, you think ‘hazelnuts+cocoa’, but when you look at the ingredients a typical jar is made up of only 13% hazelnuts! In fact, the first 2 ingredients are sugar and oil! That’s not to say you cannot enjoy it from time to time as part of a balanced diet, but I definitely wouldn’t recommend having it on a daily basis, especially not for breakfast!
If you do want to enjoy Nutella everyday, why not make your own healthified version that tastes equally as good! At least then you know you’re giving your body what it needs in the form of nutrients and healthified fats whilst at the same time treating yourself…guilt-free!
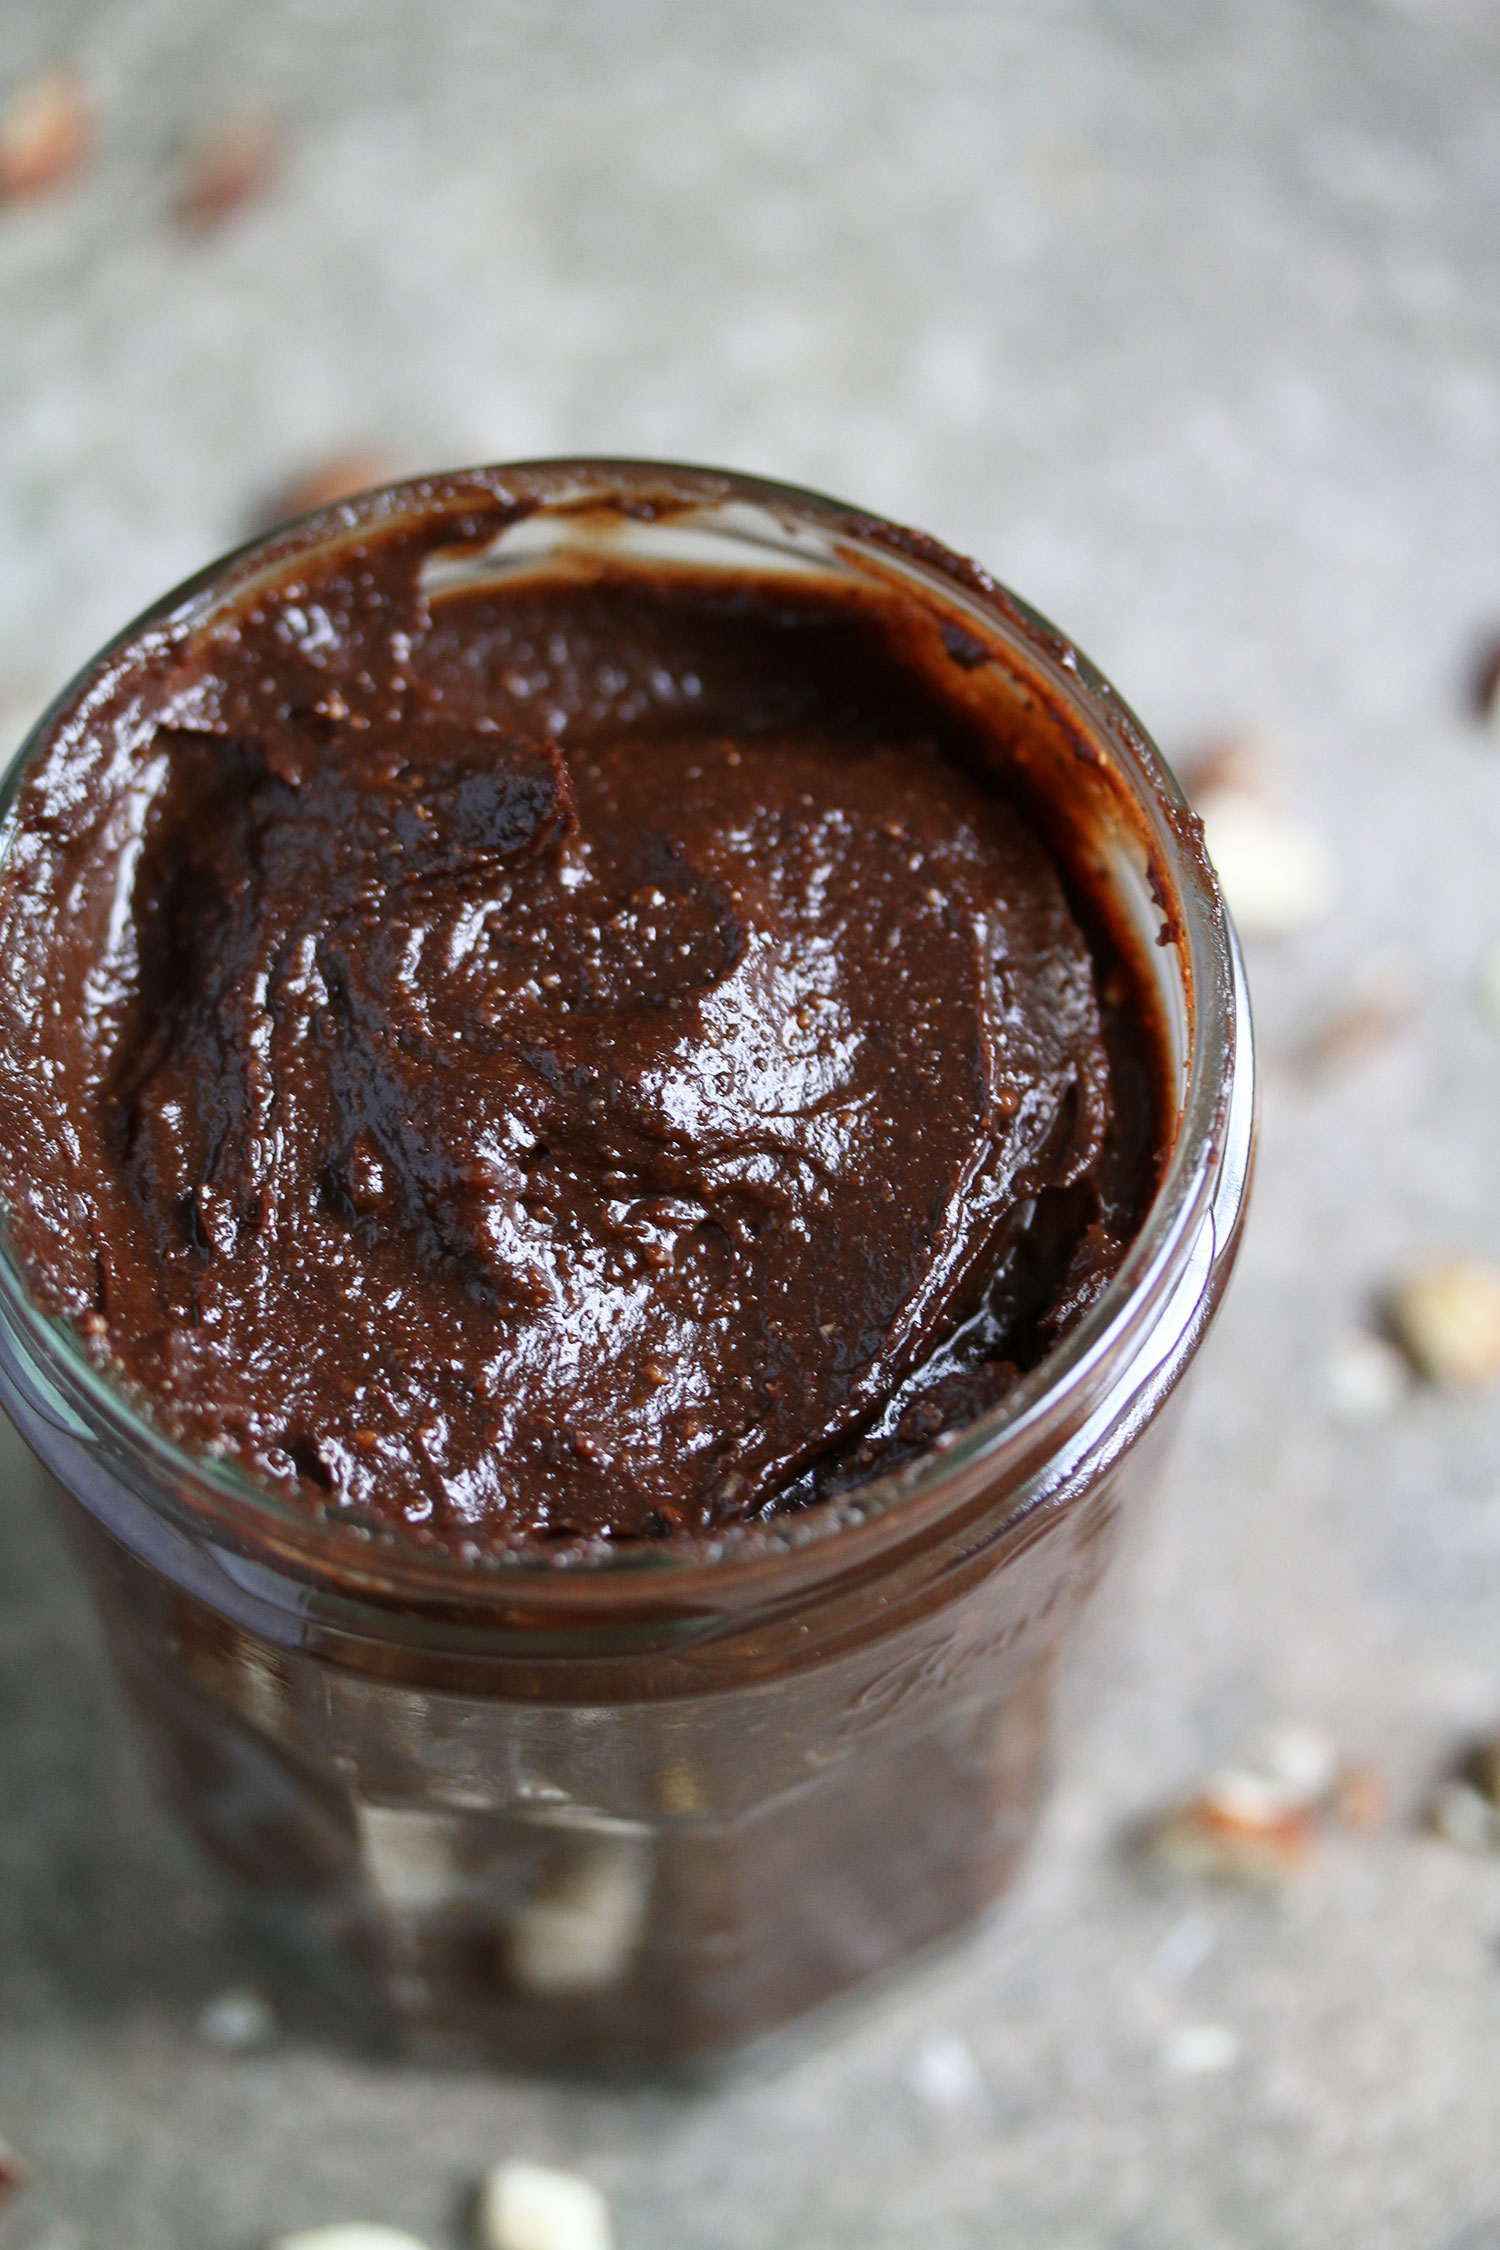
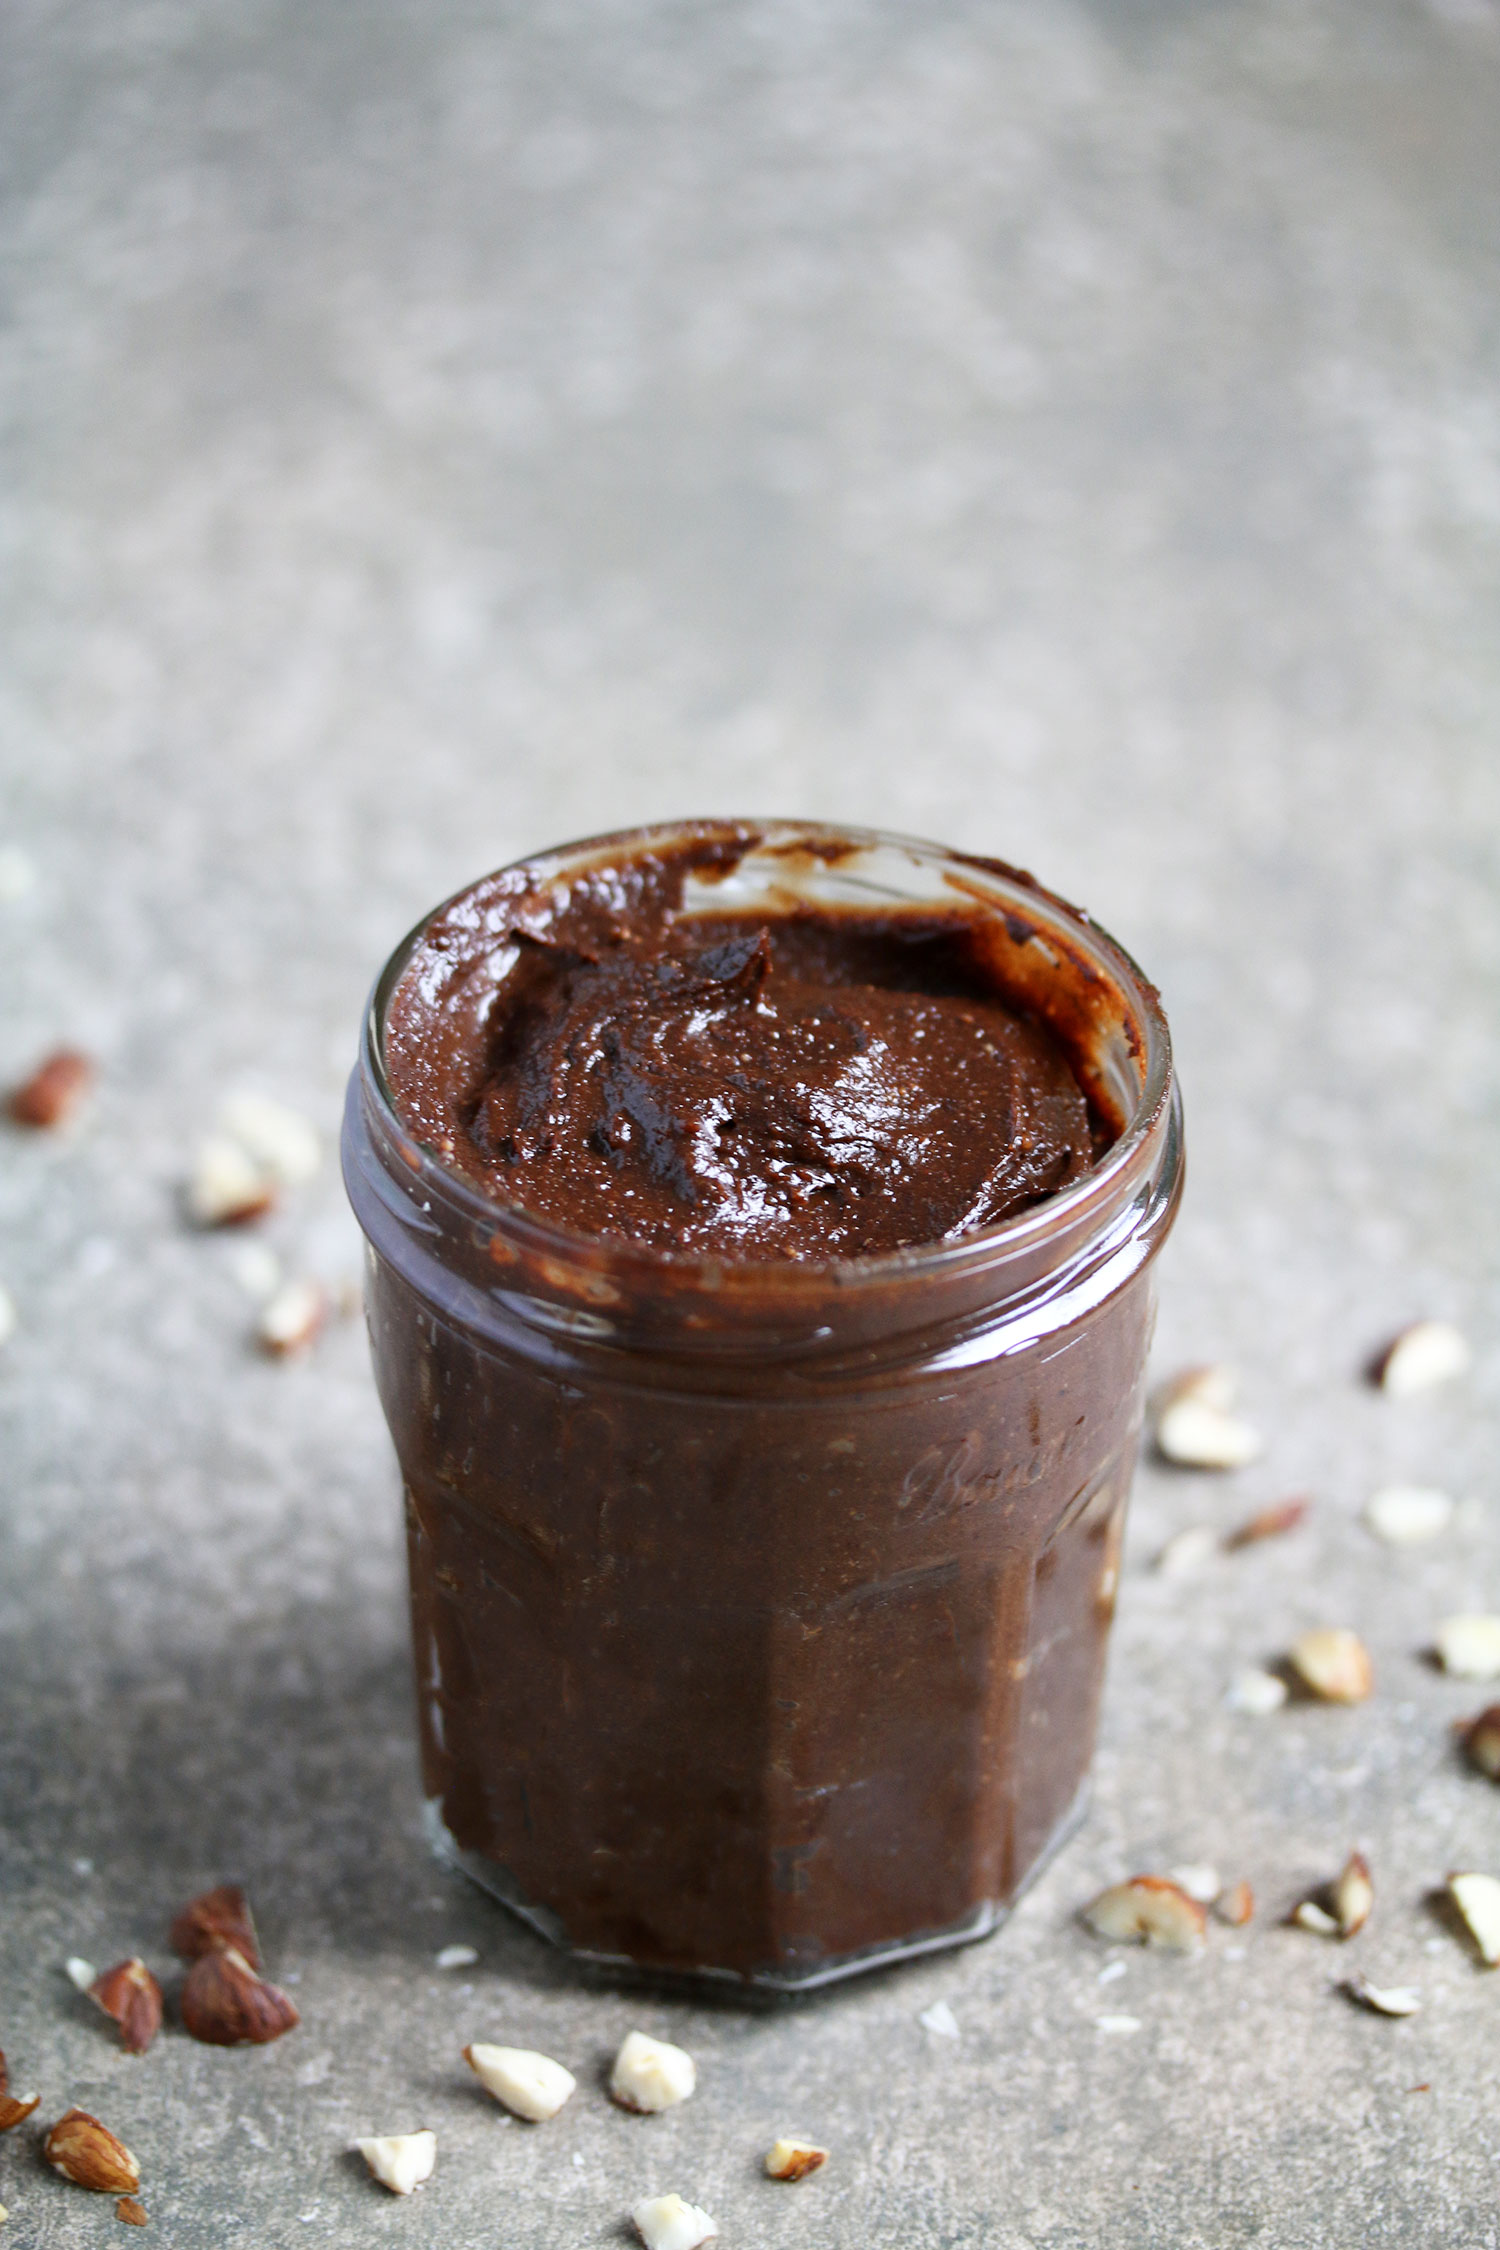
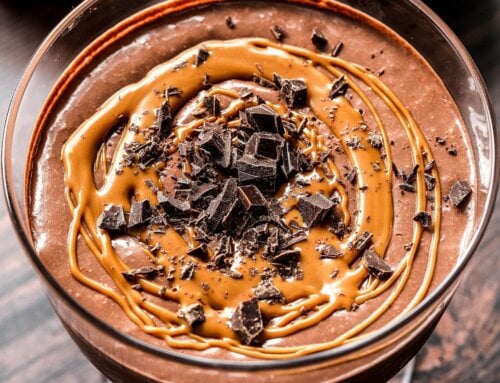
My healthified homemade Nutella, or ‘No-tella’ as some refer to it is primarily made up of hazelnuts. I add in a little extra coconut oil for a smoother finish.
Overall, this healthified homemade Nutella is packed full of nutrition and not just empty calories.
There are so many ways to enjoy this healthified homemade Nutella:
- On some bread or crackers
- Add to your oatmeal/porridge/overnight oats (Nutella Overnight Oats recipe)
- As a snack with some fruit
- As a frosting for cake/cupcakes
- Spread on homemade pancakes
Healthified Homemade Nutella
- 1 cup (125g) hazelnuts
- 4 tbsp cacao or cocoa powder
- 4 tbsp milk (I used unsweetened almond milk, but any kind will work)
- 4 tbsp coconut oil, melted
- 4 tbsp maple syrup (or any other liquid sweetener like honey, rice syrup…etc)
- 1/2 tsp vanilla paste (or 1 tsp vanilla extract)
- 1/4 tsp salt
Method:
- Preheat your oven to 200°C/400°F
- Evenly distribute the hazelnuts on a baking sheet lined with parchment paper. Roast for 8-10 minutes
- Leave to cool slightly, then start removing the skin by rubbing the hazelnuts between your fingers. Some patches may be stubborn so don’t worry if it doesn’t all come off. Just try to remove as much of the skin as possible.
- Transfer all the ingredients into a high powered blender or food processor. I’m using my Optimum G2.3 blender which took me about a minute of blending time to achieve the results. If you’re using a food processor this may take slightly longer. You may have to pause and scrap down the sides to help the process along.
- Transfer into a jar. I like to store mine in the fridge to keep it fresh

I love the look of your home made nutella and have to agree with you that anything home made is always going to be better for you ad always tastes batter!
Thank you Laura 😀 Yes! Homemade anything tastes so much better and you know exactly what’s going into your food! 🙂
So I admit, I’ve never really cared for nutella, but maybe because I’ve always seen it as an unnatural food. However, I love hazelnuts! So, this “Notella” is very appealing. Going to give it a try, if not for me, then for a friend I know who LOVES nutella and is trying to “give it up” because it’s so bad for you. Thanks for sharing!
I LOVE Nutella but never eat it because it’s mostly empty calories. It gets to me when foods like this are advertised as healthy, especially when they’re targeted at young kids! My husband is also a big Nutella fan and he thinks my version is just as good 😀 Let me know what you think if you try it 🙂
OMG I need this in my life!!
Lorna | naturally-bee.blogspot.co.uk |
It’s so good and easy to make 😀 I hope you try it 🙂 x
looks great – how long will it keep for? can I freeze it?
Thank you Trish 🙂 I would say it would keep for about a week in the fridge. I haven’t tried freezing it so I’m not sure how well it will freeze :S
I have just made this!! Shame I can’t upload a photo!! It tastes better than Nutella.
My children love Nutella but I think they are going to love this more than all that rubbish they add into Nutella.
Thanks again for the amazing recipes!!
I’m so glad you liked it Tracy 😀 Hope your kids like it too 🙂 x
I have made this many times and have ended up eating all of it myself!
So glad you enjoyed it 🙂
Hi!I made this yesterday and it tastes amazing. My boys are just loving it. No more store bought nutella at home. I think i’m gonna repeat it again any time soon. Its almost getting over. Thankyou for sharing such amazing receipes. I have tried a few of them.
Thanks again 🙂
Thank you Amrita 😀 So glad your boys loved the Nutella! xx